
Today I am starting something a little bit different. I am going to be sharing more craft activities for all as Erin loves to craft and so I am making more of an effort. I will be looking to add crafts that can inspire parents and carers like me who are willing but quite unimaginative when it comes to crafting. We are starting off with some springtime crafts for kids and these paper daffodils are really simple to get started with.
This paper daffodils tutorial contains step by step instructions and the template needed to make these paper flowers.

List of Supplies Needed for the Springtime Crafts for Kids
- Craft papers – 2 to 3 different colors
- Craft glue
- Scissors
- Pencil or marker – for tracing template
- Template cut outs
Process of Making the Springtime Paper Daffodils:
Step (1)

Trace the patterns from the springtime crafts for kids template available here on the selected craft papers. Cut out the patterns from the craft papers by cutting along the traced lines. Cut small fringes on the rectangular cut out.
Step (2)
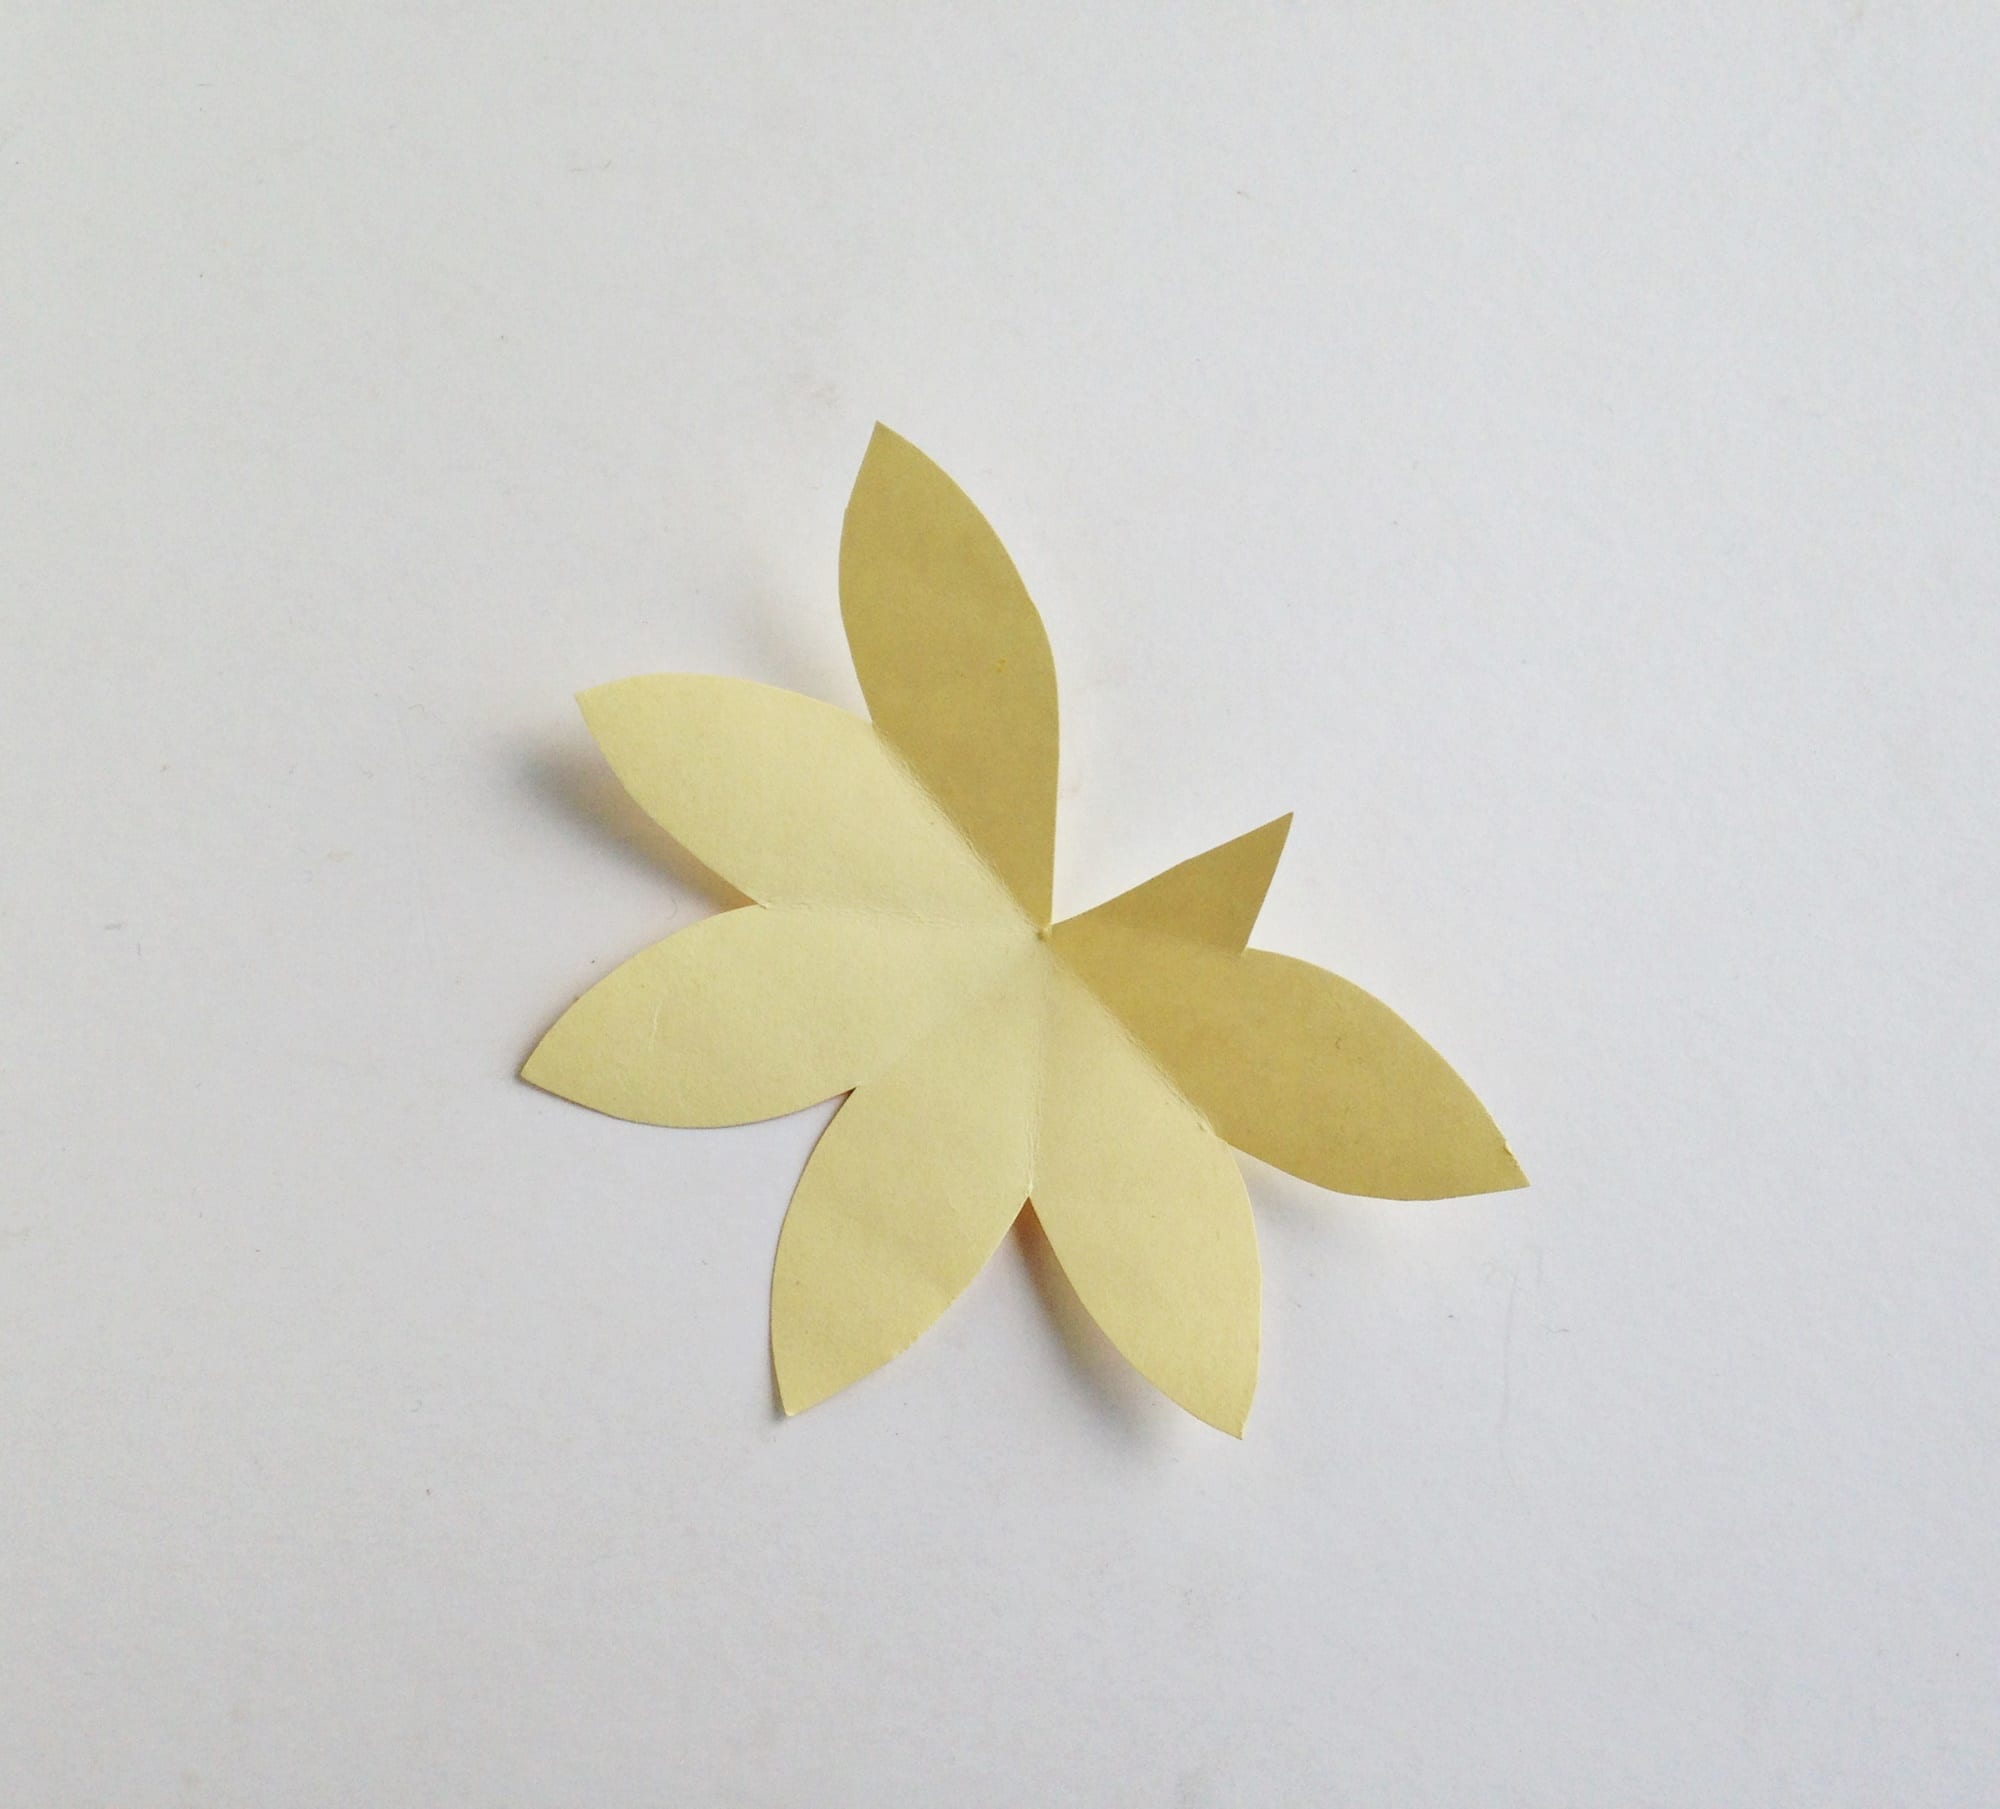
Take the 6 petaled paper cut out and create folding lines between every petal.
Step (3)
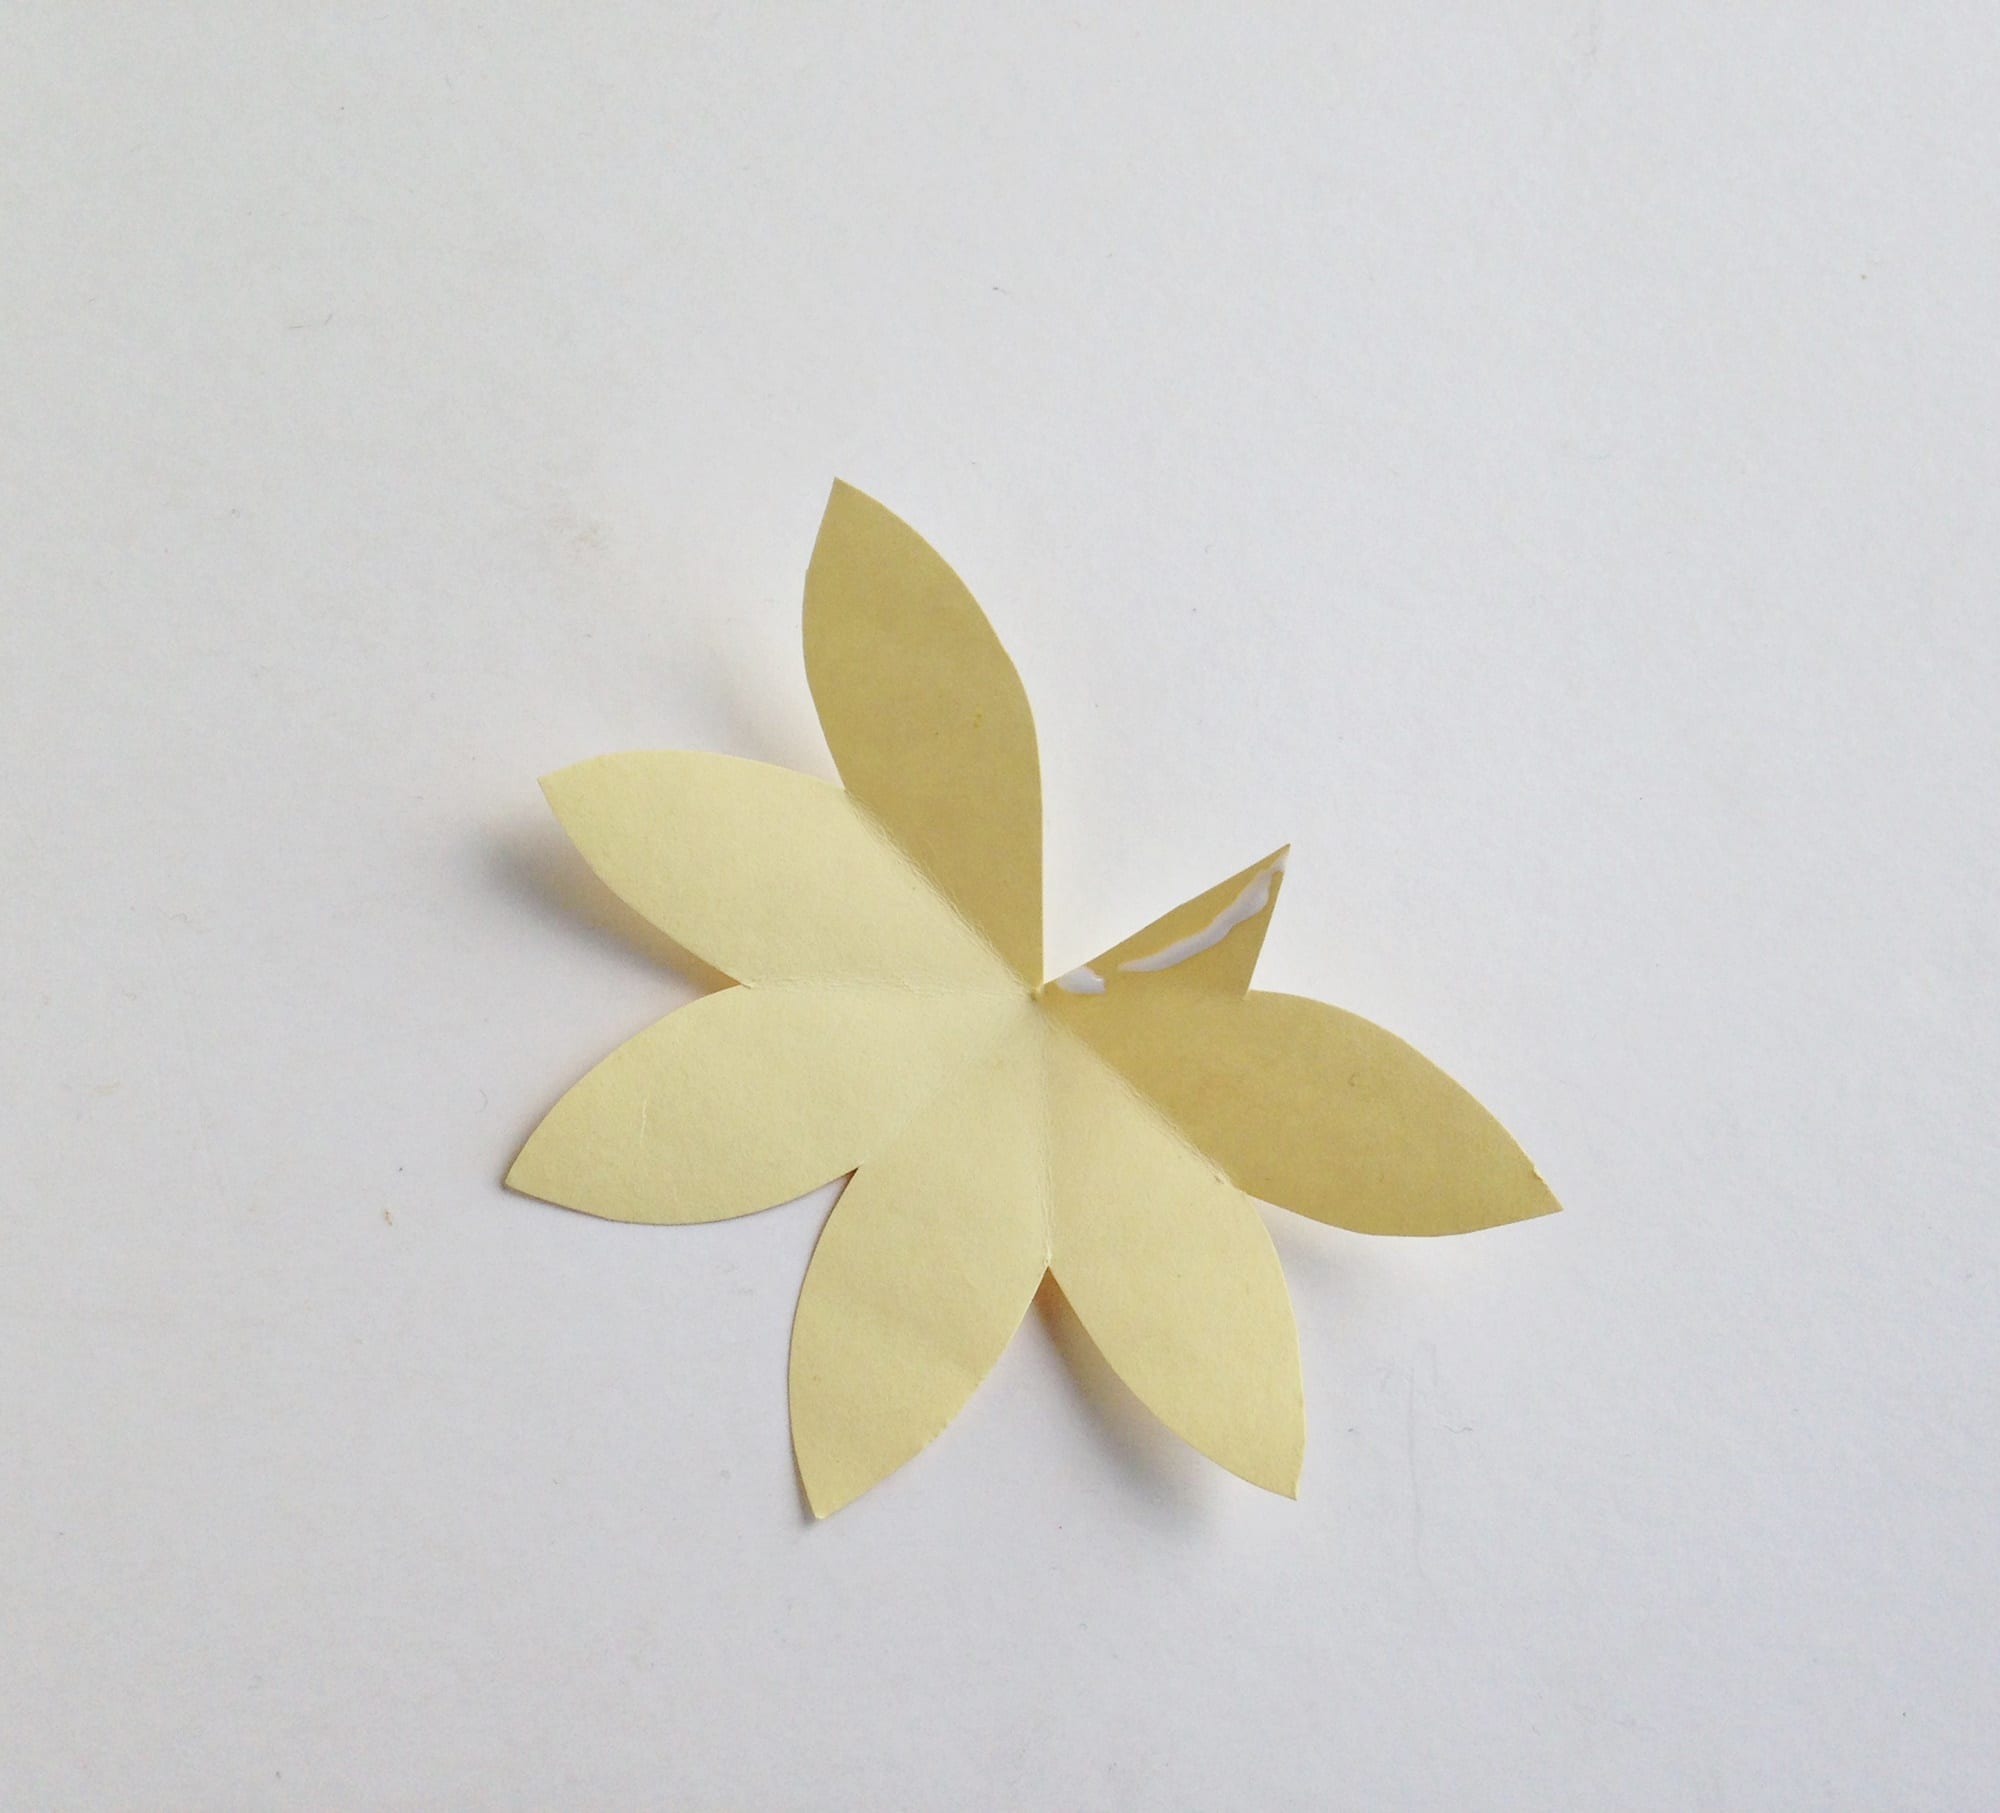
Apply a small amount of glue on the extra part of the petaled paper.
Step (4)
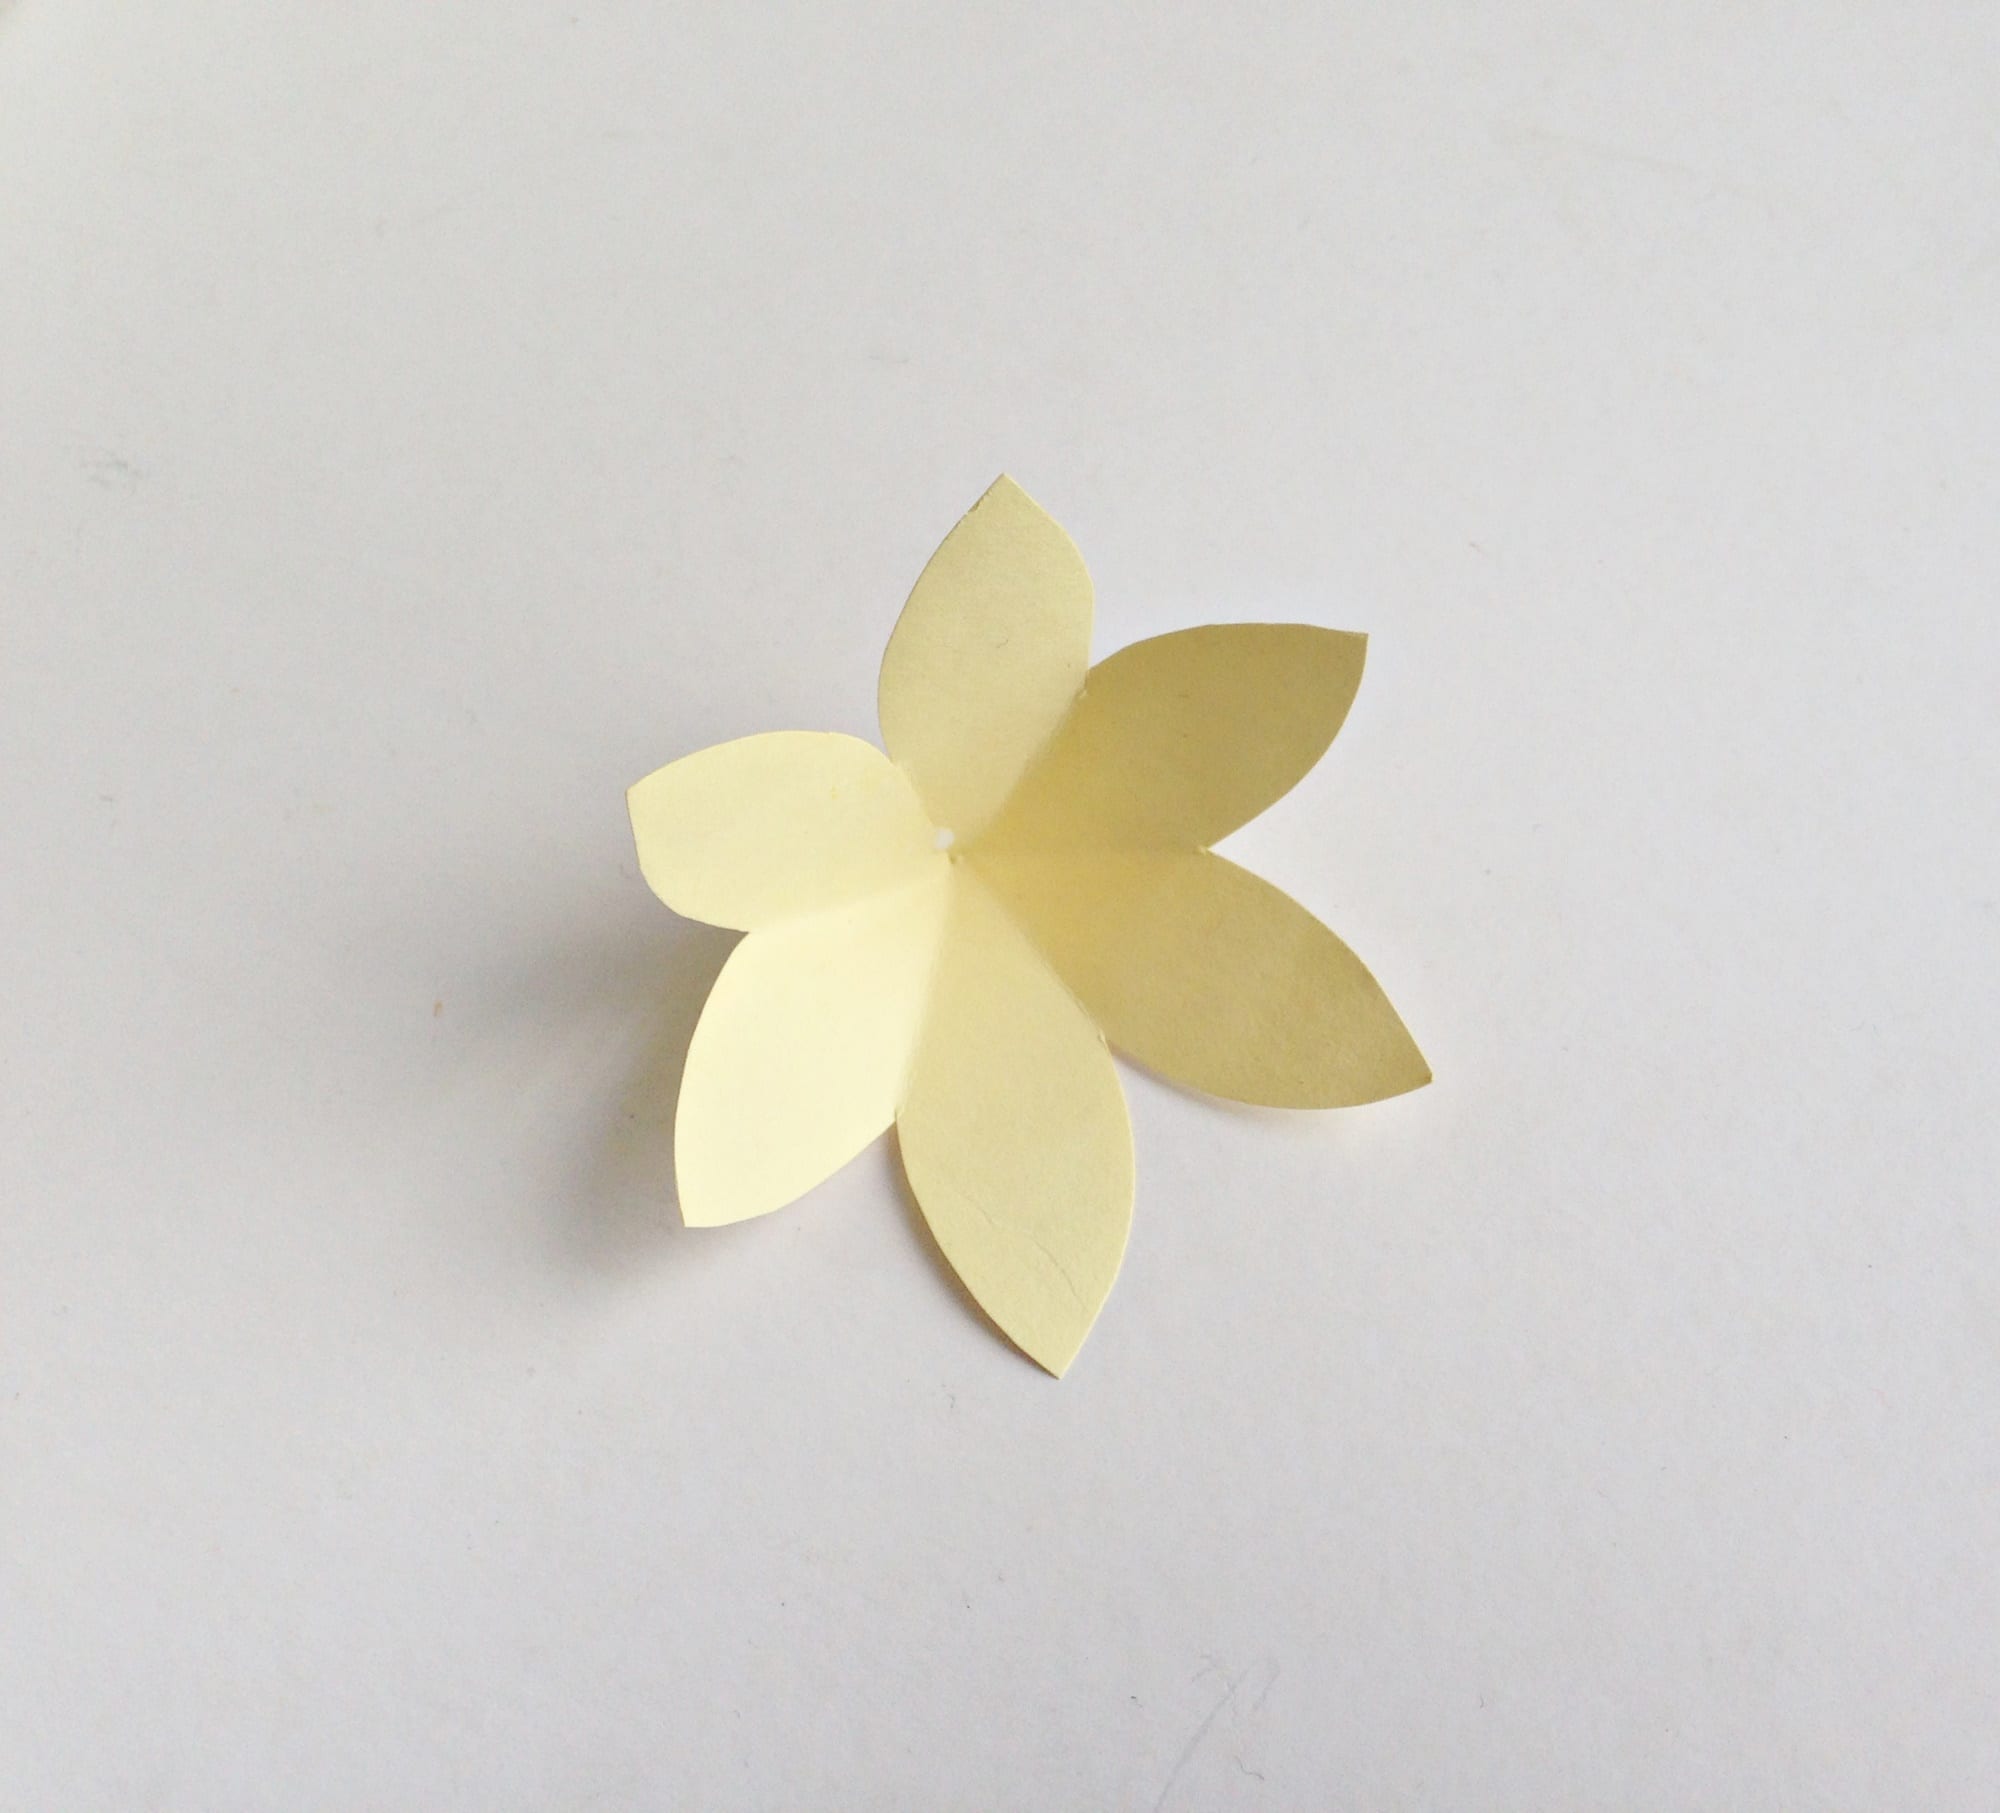
Join the glued part with the open end petal to close the pattern.
Step (5)
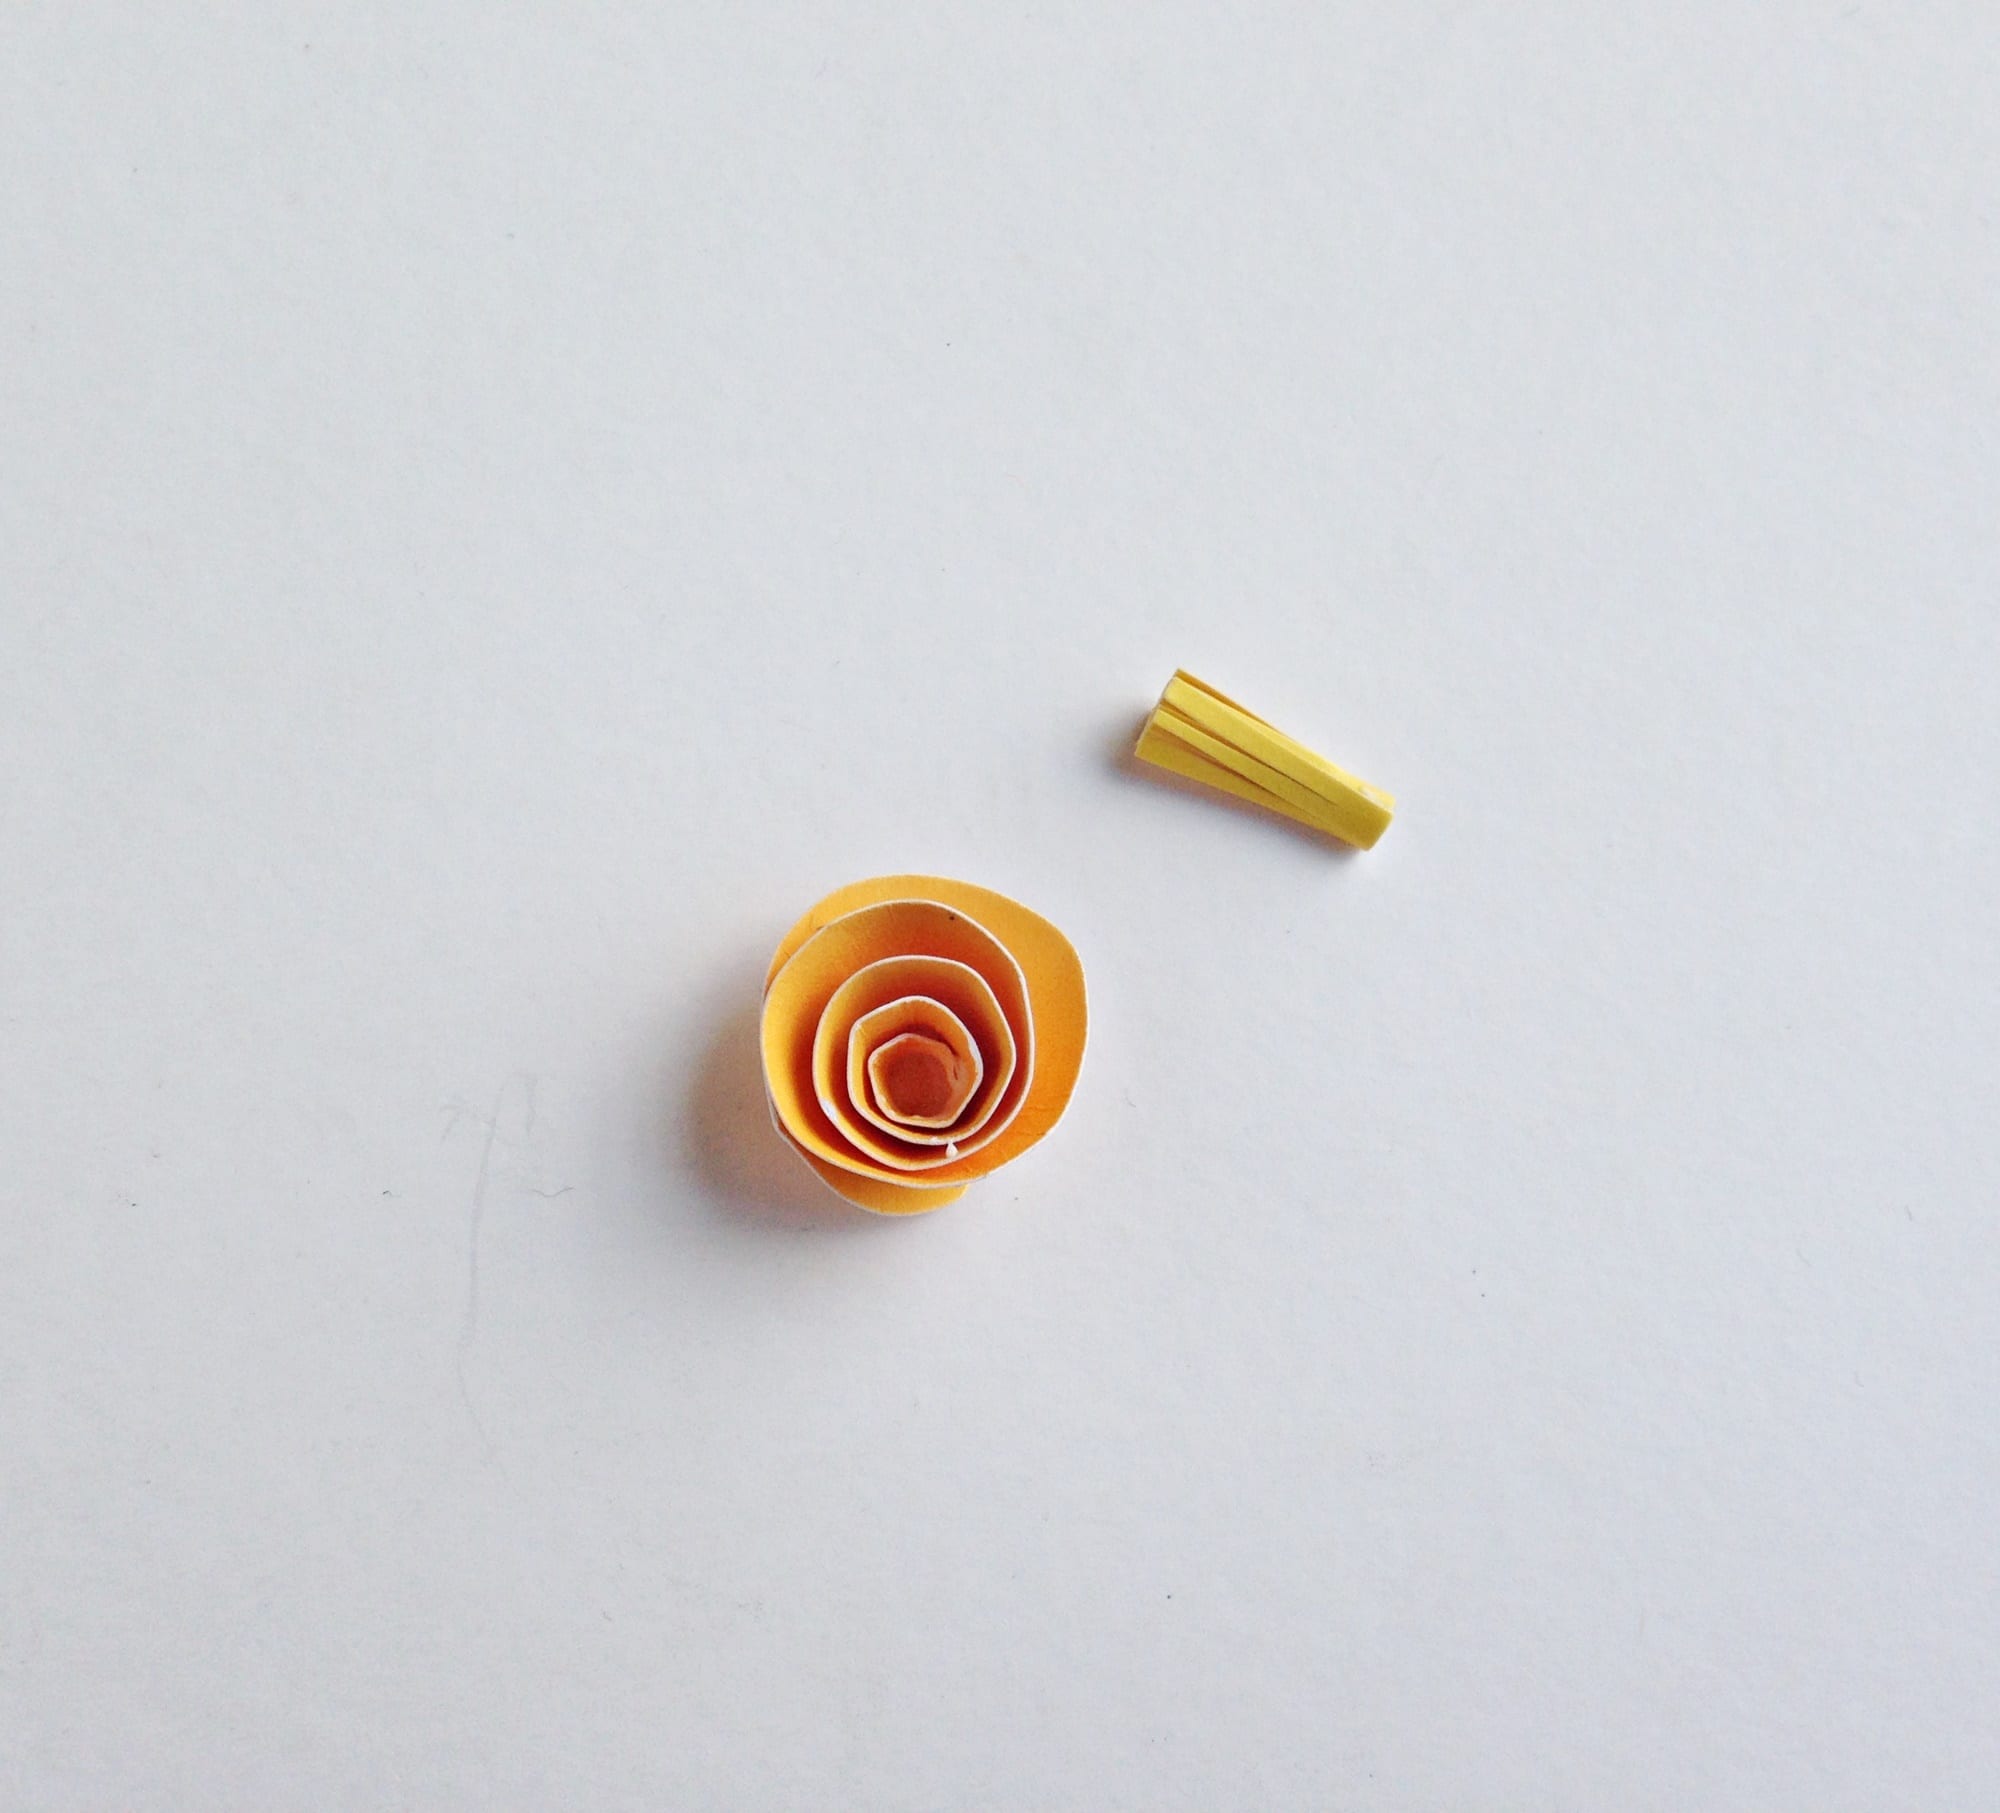
Roll the spiral cut out from its open end and continue to roll until reaching the center; Glue the roll with the center to create a rolled flower. Take the fringed cut out and roll it along its intact part, keeping the fringed end open. Glue at the end of the roll to secure it.
Step (6)
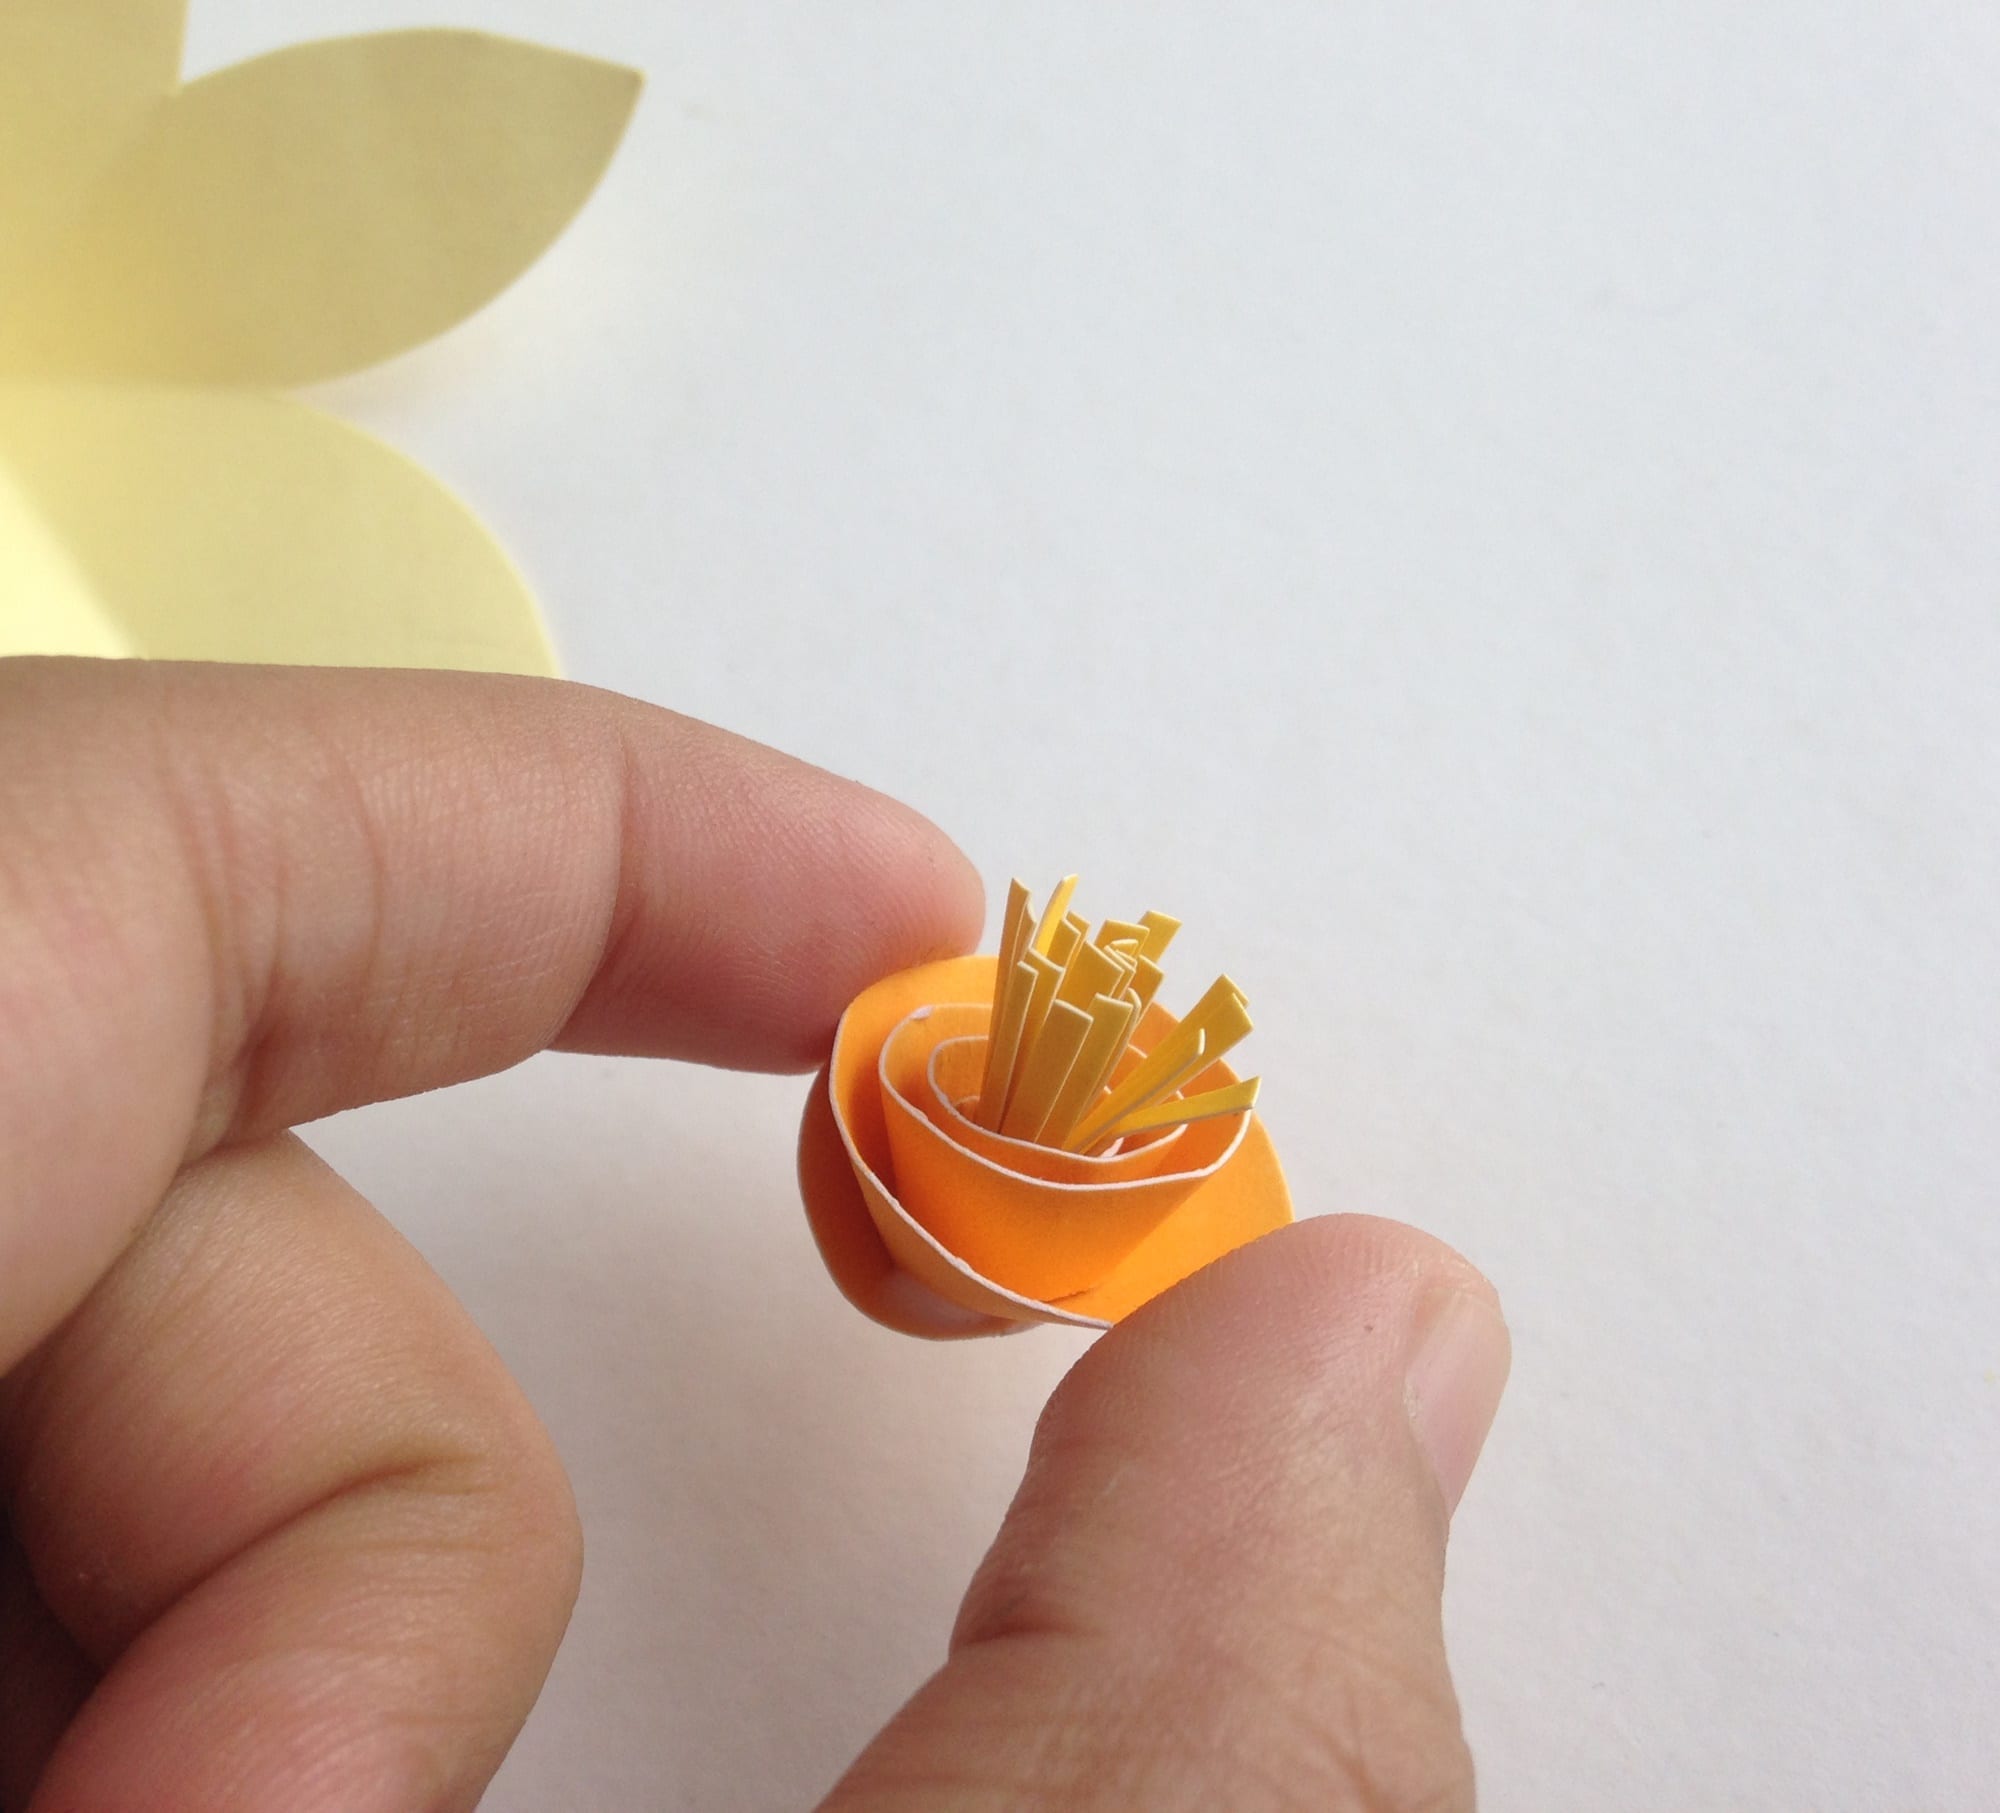
Place and glue the rolled fringed pattern in the center of the rolled flower pattern. This will be the center of the flower.
Step (7)
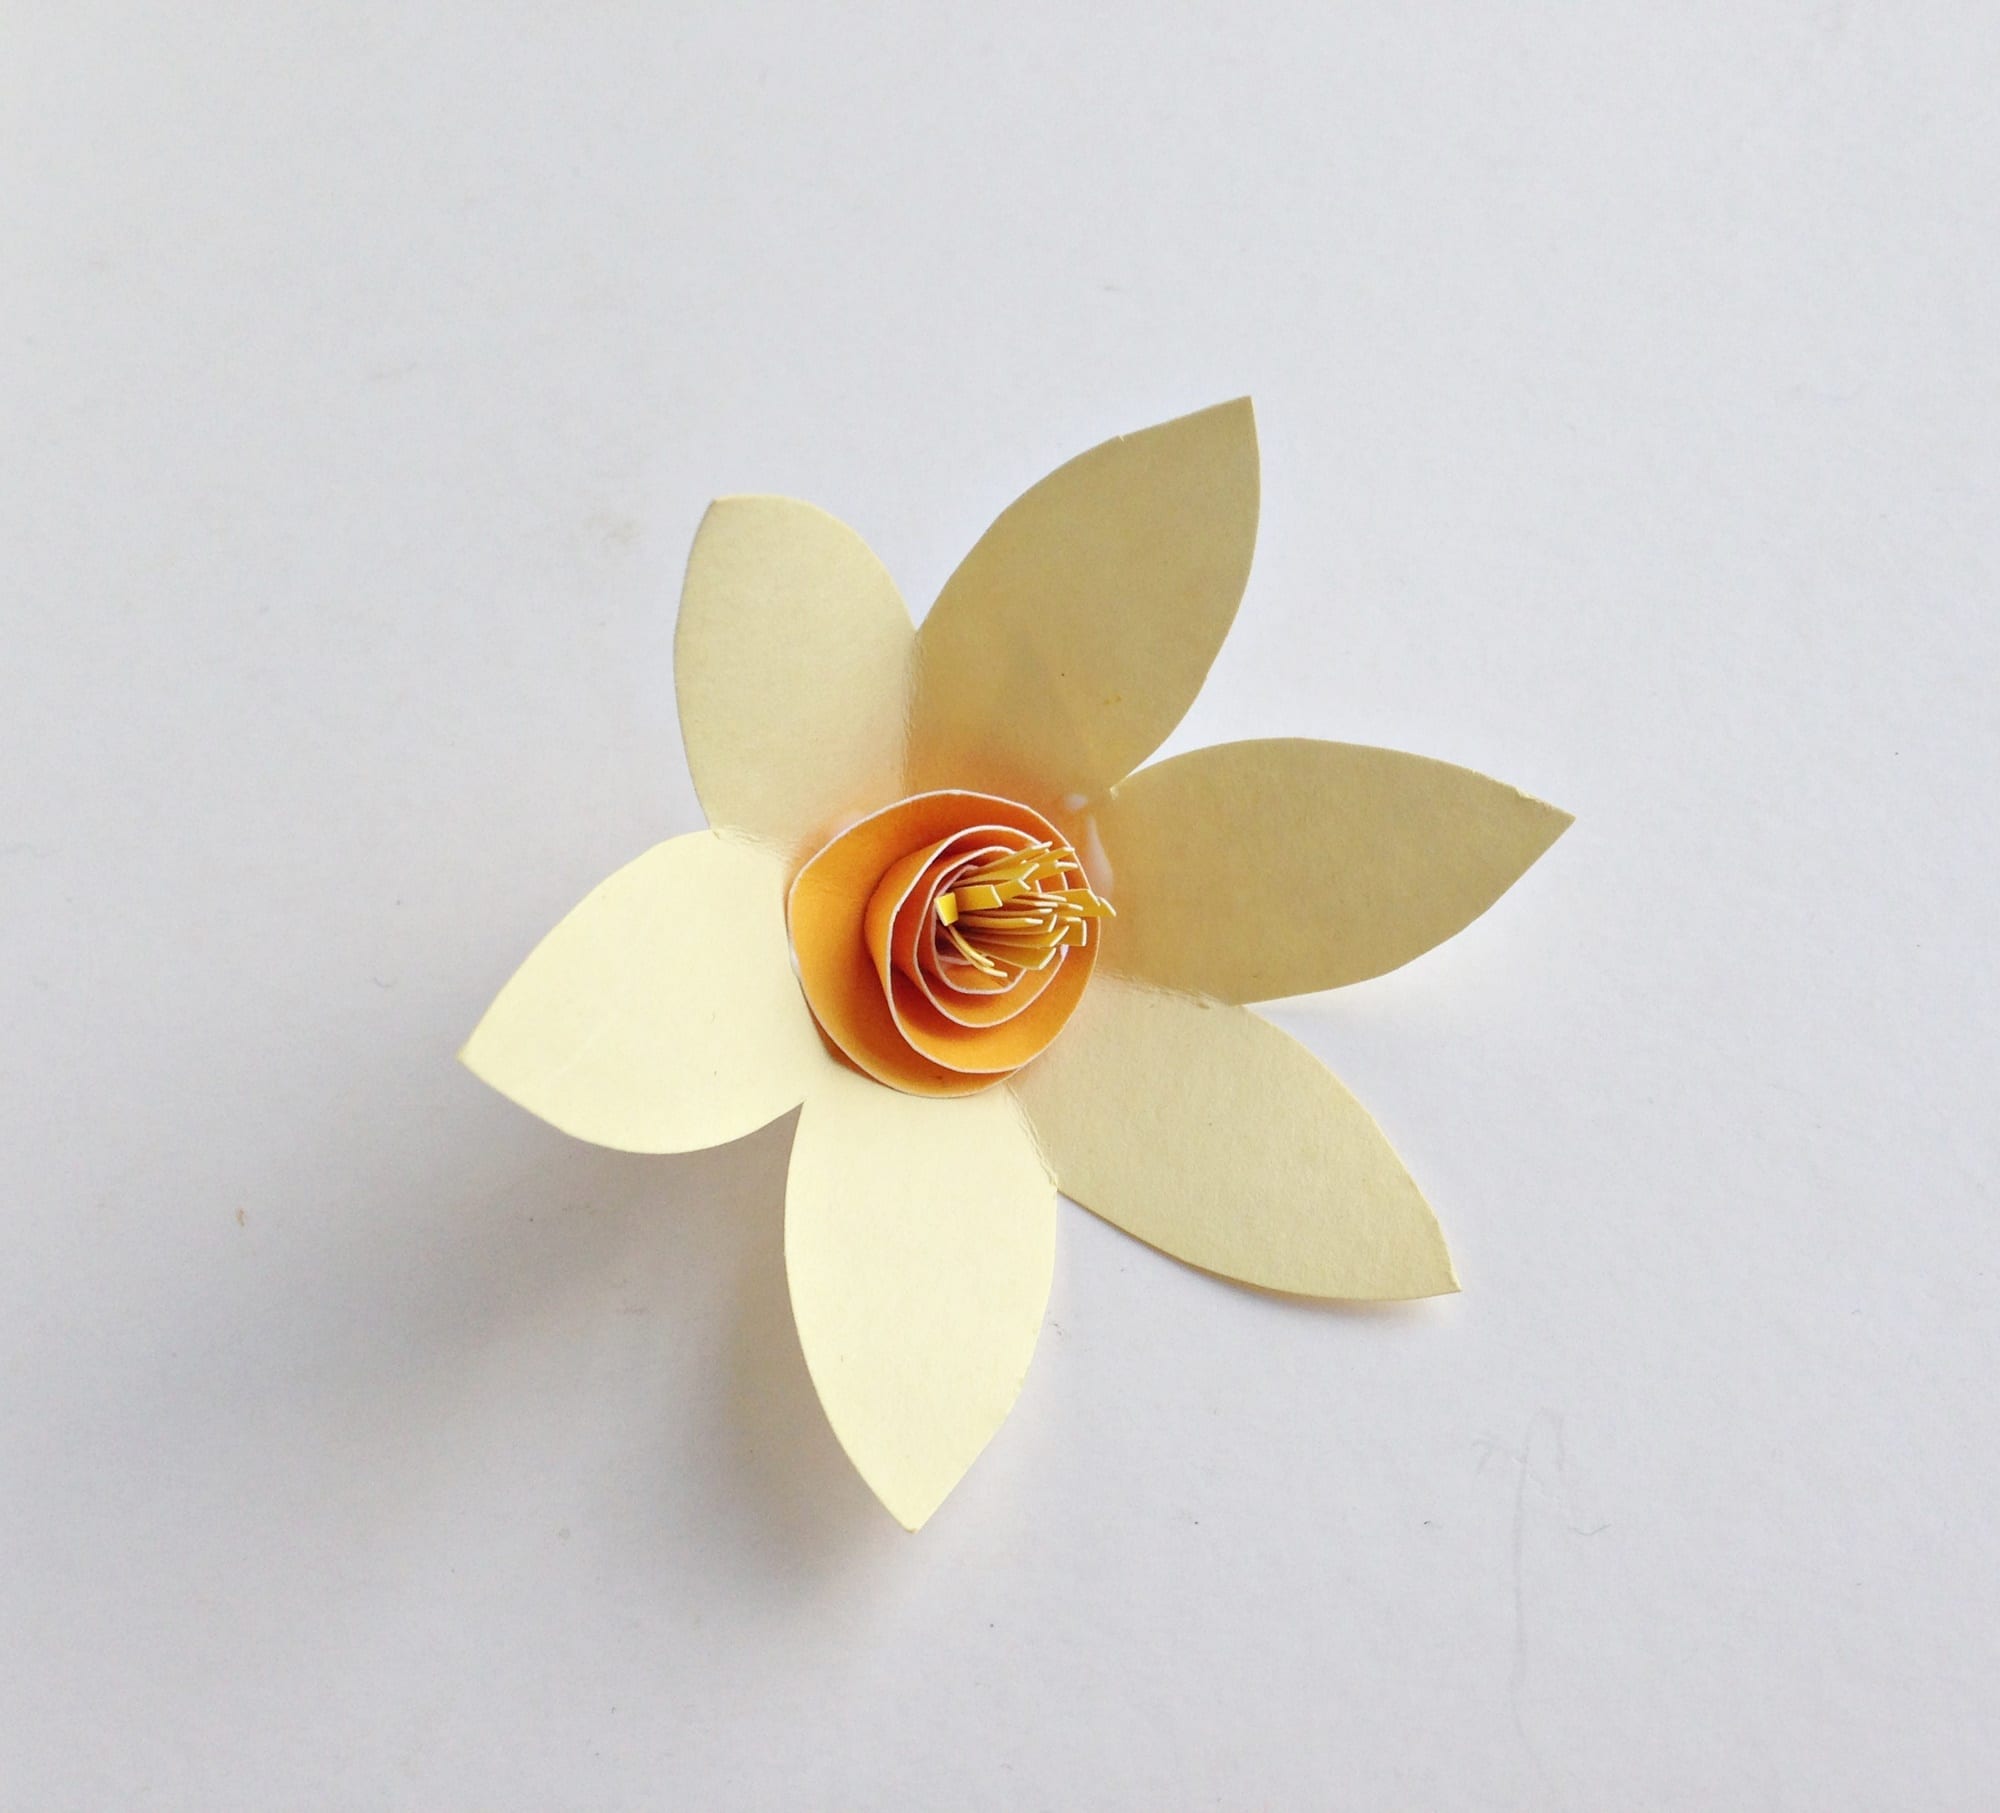
Now glue the center part created in step 6 on the center of the flower pattern.
Step (8)
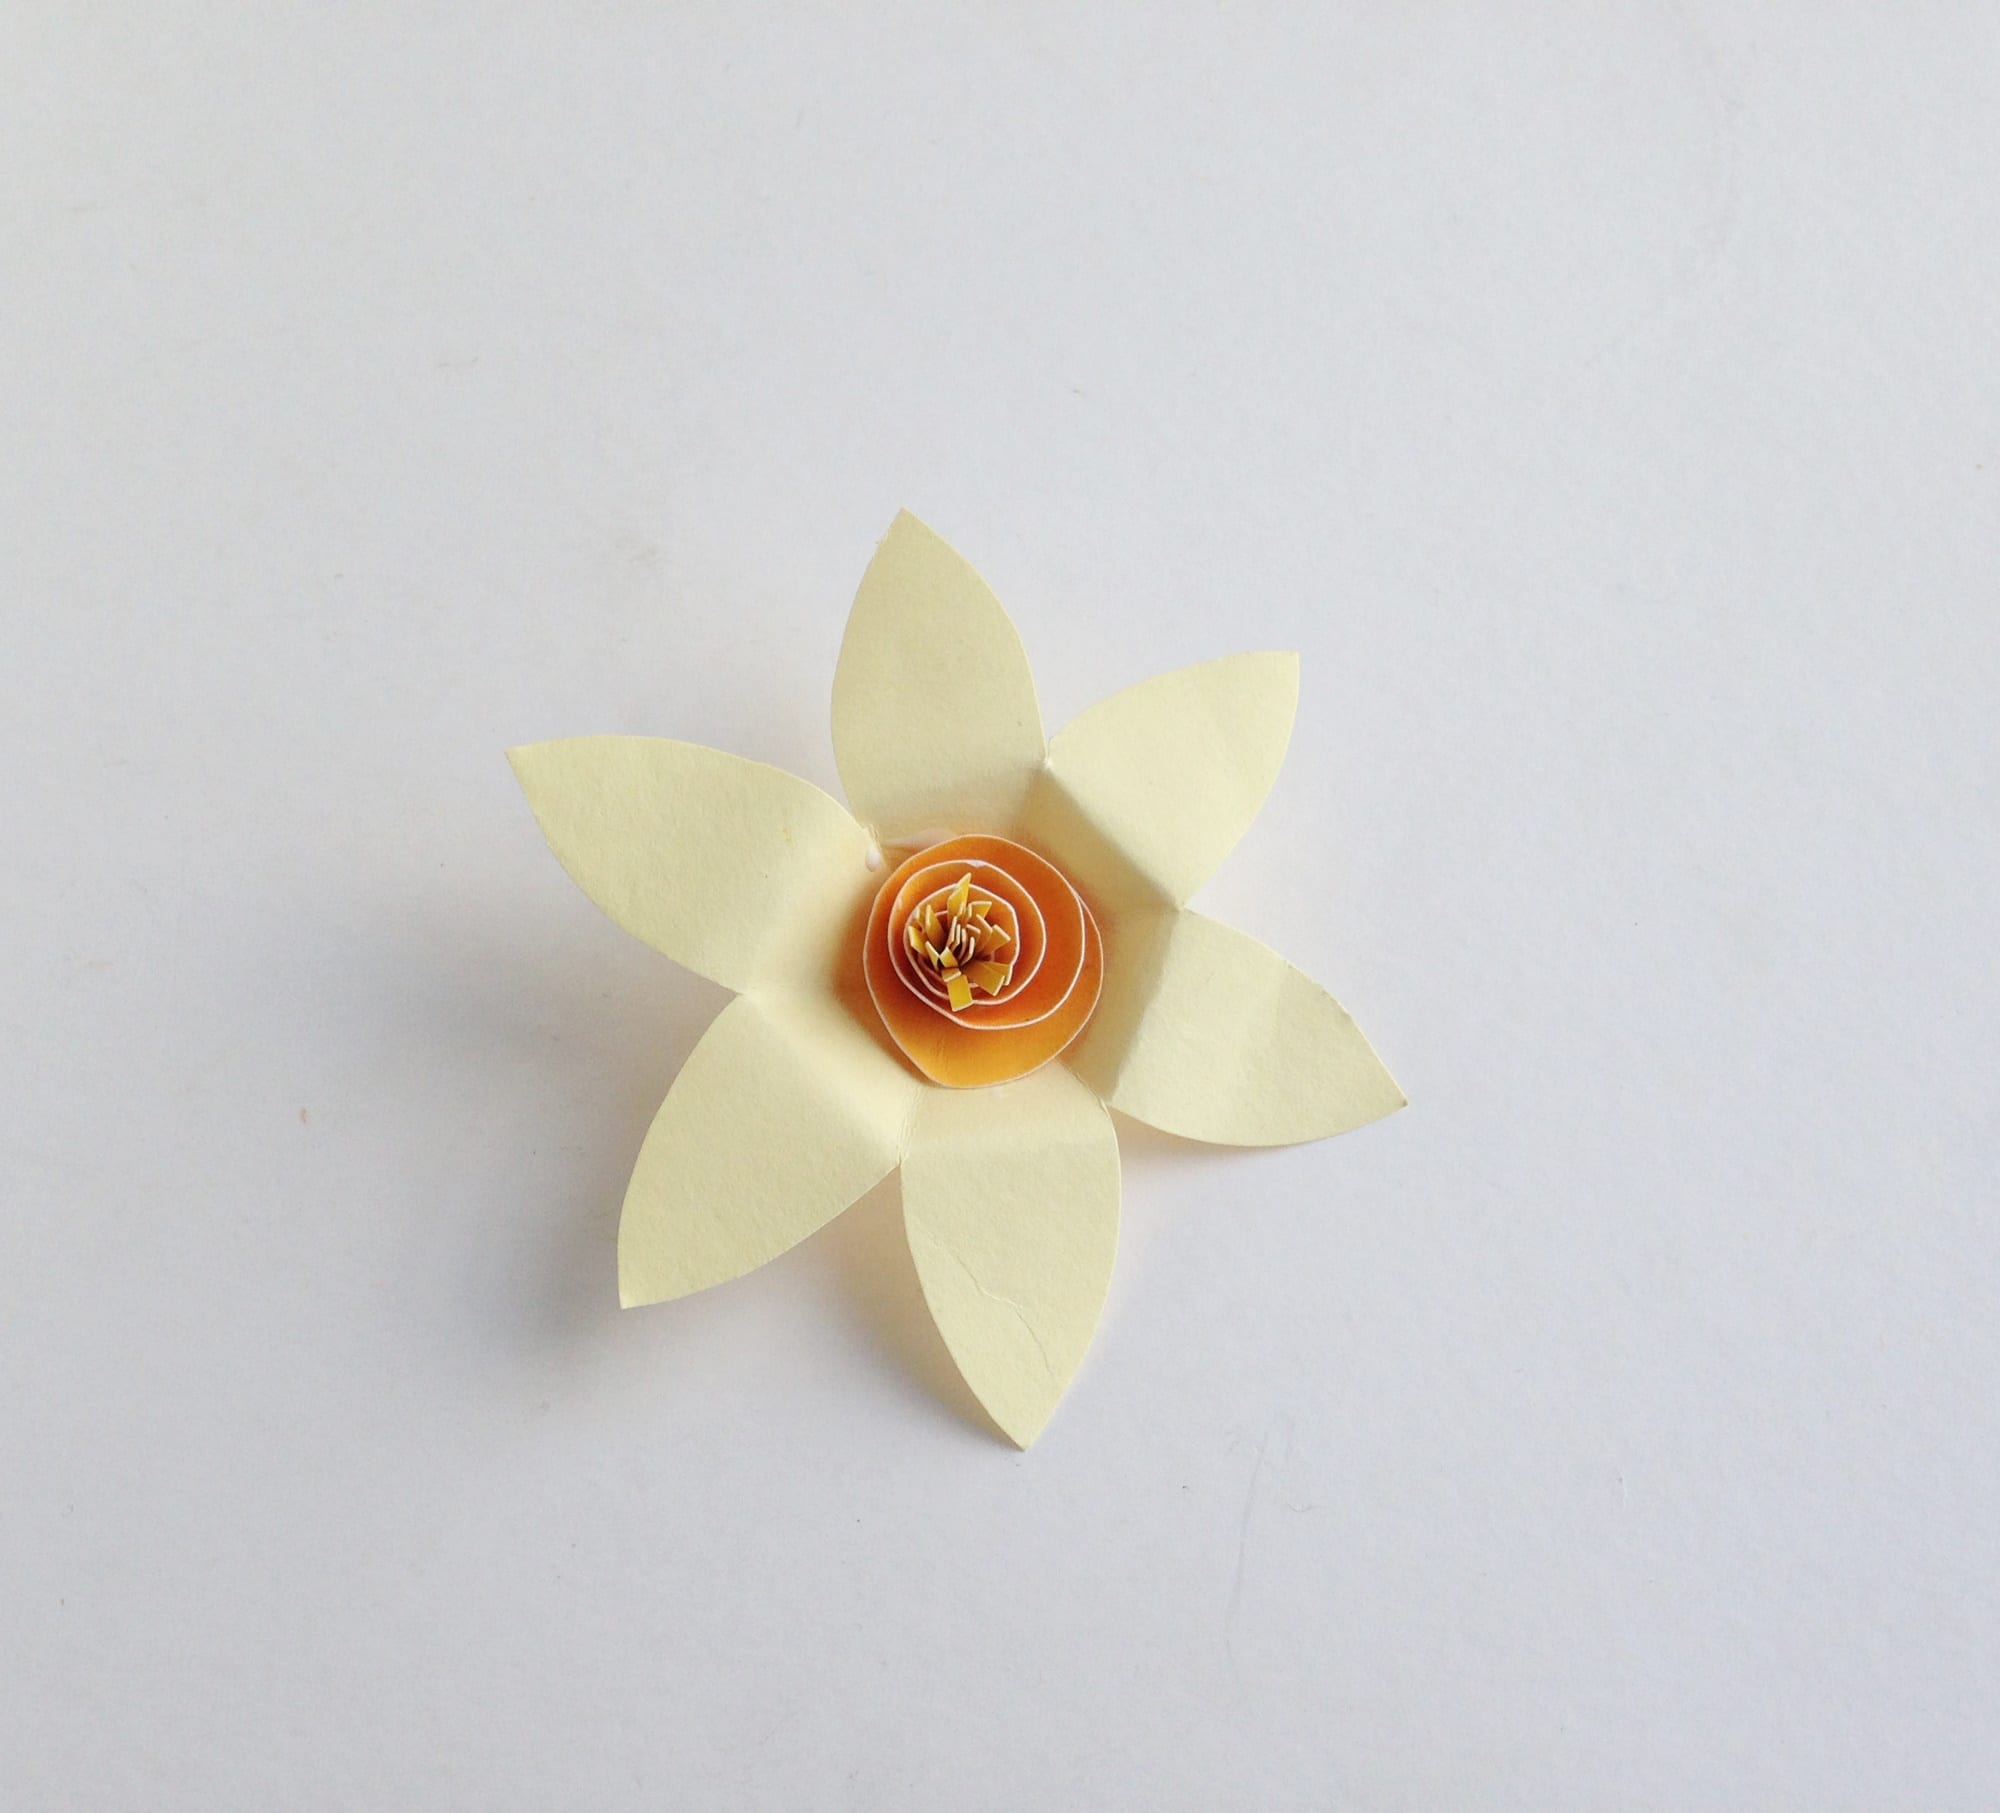
Fold each of the petals backwards and then release the fold.
Step (9)

Now squeeze the tip of each petal to create a pointy tip. There, done!
Use different coloured craft papers, mix and match to create tons of variations as paper flowers can come in all colours and of course paper daffodils look good in various shades of yellow.
Let me know what you used the springtime flowers for. You could pop the paper daffodils on a straw and make a bunch to pop in a container. They might not smell as good as the real thing but they will last longer and don’t need watering! Would you like to see more springtime crafts for kids?

Similar Posts
For more paper craft activities check out this paper and poppies tutorial.
For more spring crafts have a look at Easy DIY Macramé Rainbow Craft Tutorial

One Response