
We have created another beautiful wreath to hang on the front door at home to celebrate summer. This time we have made simple felt flowers that we fixed to an embroidery ring using our glue gun!
Regular readers will know that our glue gun has been well used over the past few weeks, firstly with our Rainbow Wreath to thank the carers and then with our colourful yarn wreath sprinkled with ladybirds and bee’s.
I have loved getting my craft on with Erin during our home learning journey and we have both picked up lots of new skills. We can now make lots of things that we had never tried before. We have been doing academic work in the mornings and more craft based activities in the afternoons.
The crafts are also proving popular with my readers who are all getting crafty in lockdown too! I hope that many of us keep up with our new hobbies as it is a great way to express yourself and there are many benefits of crafting with teenagers and children as I have discovered.
Crafting is a great stress buster and you feel an amazing sense of achievemnet after creating something useful or pretty!

Here you can follow my instructions and make the felt flower wreath either to decorate your home or give to someone that you have missed whilst we have all been staying at home. Erin has enjoyed making things for her grandparents, although she charges them for her time too!
What You Need to Make a Felt Flower Wreath
- 1 small wooden bamboo embroidery hoop (We got ours from Amazon)
- Pack of coloured felt from Amazon
- Craft Wire Amazon
- Floral wire cutters
- Glue gun and glue sticks (We got ours from Amazon)
- Scissors
- Ribbon for hanging
- Ruler

Felt Flower Wreath Craft
Make the flower
To make the first flower, cut a piece of felt that is 2”x10”. Fold in half lengthwise. On the fold, snip about 2/3” to 3/4” down towards the end and repeat all the way to the other side. Roll slightly and using your glue gun, secure in place. Continue to roll, gluing as you go, until you reach the end. Make sure you secure the end well. Fluff open
Rolling the first flower

First complete flower

Second flower
To make the second flower, cut a piece of felt that is 2”x10”. Fold in half lengthwise. Unlike the first flower, you will NOT cut on the fold, but you will cut on the other side. You will snip about 2/3” to 3/4” down towards the folded end and repeat all the way to the other side. Roll slightly and using your glue gun, secure in place. Continue to roll, gluing as you go, until you reach the end. Make sure you secure the end well. Fluff open.
Third flower
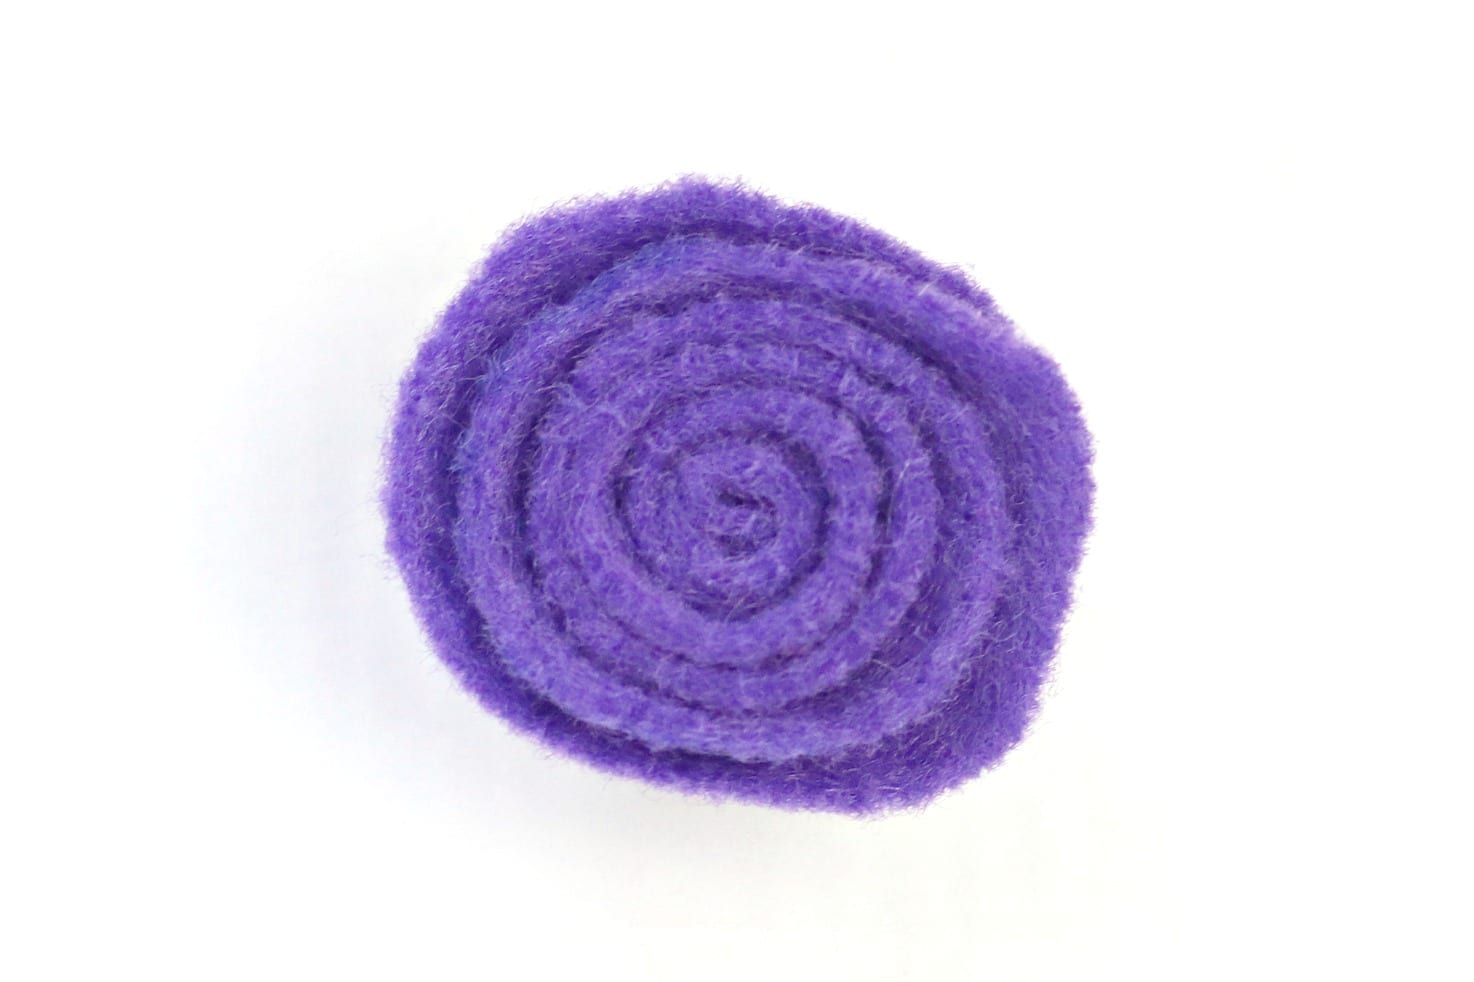
To make the 3rd flower, you will cut out a circle about 5” in diameter. This does not have to be perfect by any means! Using your scissors, cut a coil pattern, again, does not have to be perfect! Using your glue gun, put a dot of glue on the small end and roll the felt towards the larger end, gluing regularly along the way. Be sure to secure the end well.
Rolled flower
Making leaves
For the leaves, we just cut various sizes of curved diamond shapes in different shades of green. We attached them to different areas of the flowers. Again, no need for perfection! We just had fun and did what we felt looked pretty!
Placement
Next is deciding on your placement of the flowers. We started in the middle with the largest flower and worked our way out from there. Using your glue gun, attach the flowers to your wooden bamboo hoop.
Hang your wreath using a ribbon or a wreath hanger.
Doesnt the finished summer wreath look lovely, you can of course make more or less flowers in a variety of colours. Once you have mastered making felt flowers there are so many things that you can do with them. Another idea we are going to try is sticking them onto a headband as they will look great with a sundress. You can also personalise bags by adding the homemade felt flowers.
Have you anymore ideas of what we can do with the felt flowers now we have made so many?


3 Responses