
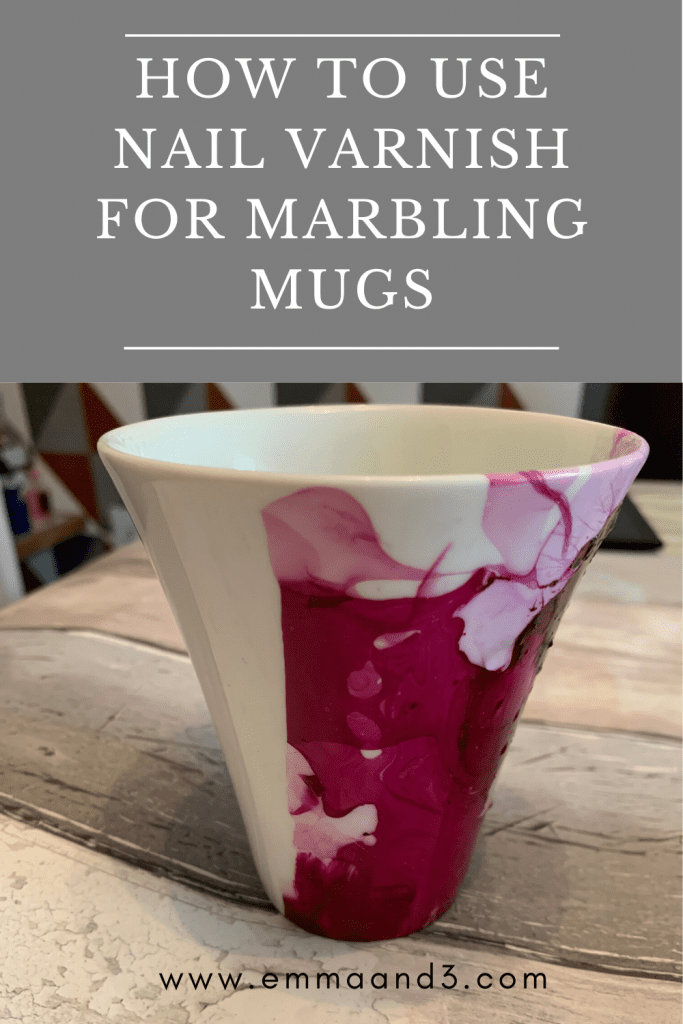
Did you know you can use nail for varnish for marbling mugs? It is easy to do and you can have gorgeous gifts in minutes.
Finding different crafts to do in lockdown when you don’t have easy access to the shops can be challenging however if you take a look around the home you probably have lots of things ideal for crafting projects. For example, did you know that old nail varnish can be used to create a beautiful marbling effect on ceramics including coasters and mugs? This tutorial shares how to use nail varnish for marbling mugs which we did very successfully at the weekend. Erin is super happy with the result and has been drinking her hot chocolate out of her mug ever since! They would also make great unique gifts.
This marbling activity is ideal for tweens and teens as it does require handing nail varnish and working quickly. Therefore younger children would need more support but could do it if they will accept help! This is also an excellent craft to do do on sleep overs or at birthday parties, you could even fill the marbling mugs with sweets as the take home gift.
Supplies that are needed for marbling mugs

You will need:
- Plain mugs for decorating, we used a set of four from Amazon or you could use paint your own coasters.
- An old container to hold the water.
- A selection of nail varnishes, we used a combination of three colours.
- Mod podge if you want to make them dishwasher friendly!
Instructions on how to marble
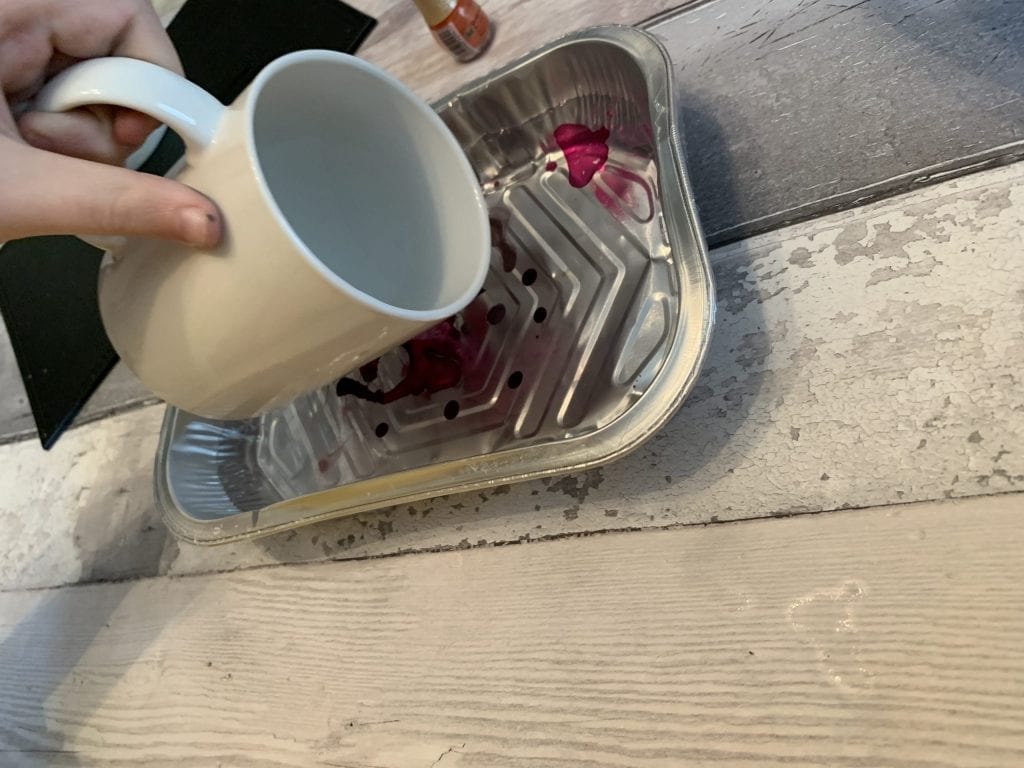
- Fill your container half full with tepid water.
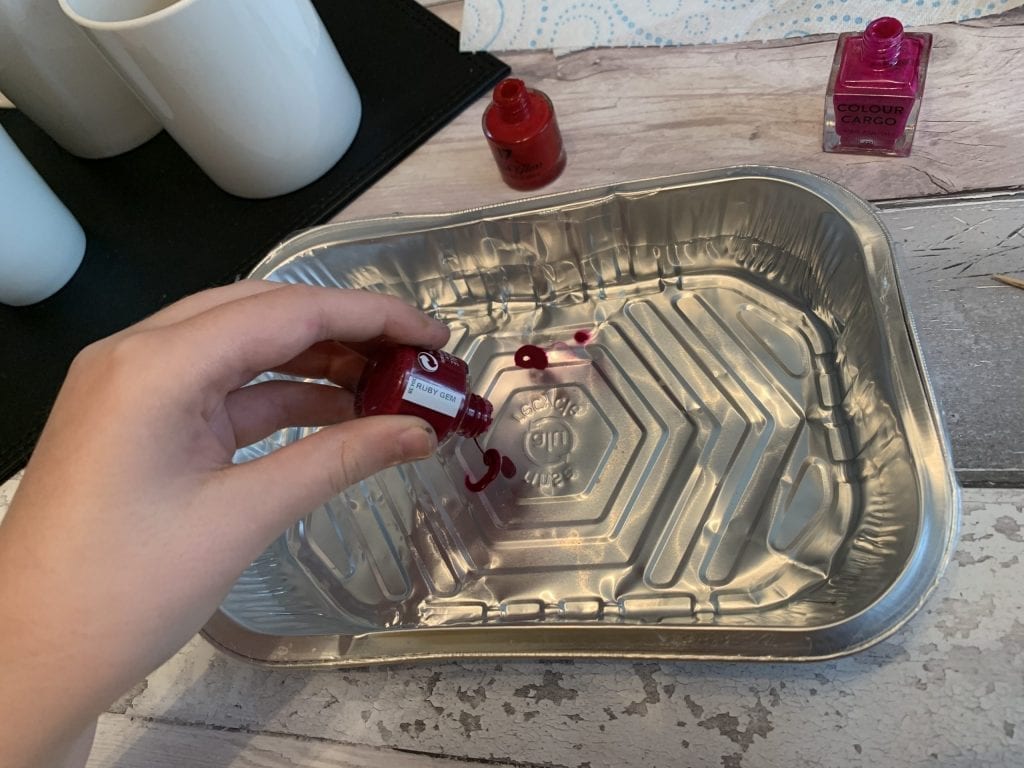
- Quickly drop several drops of nail varnish into the water, the nail varnish will float on top.
- Add a few colours of your choice. You can swirl them with a cocktail stick to mix the colours if required, but work quickly or the nail varnish will stick to the cocktail stick!
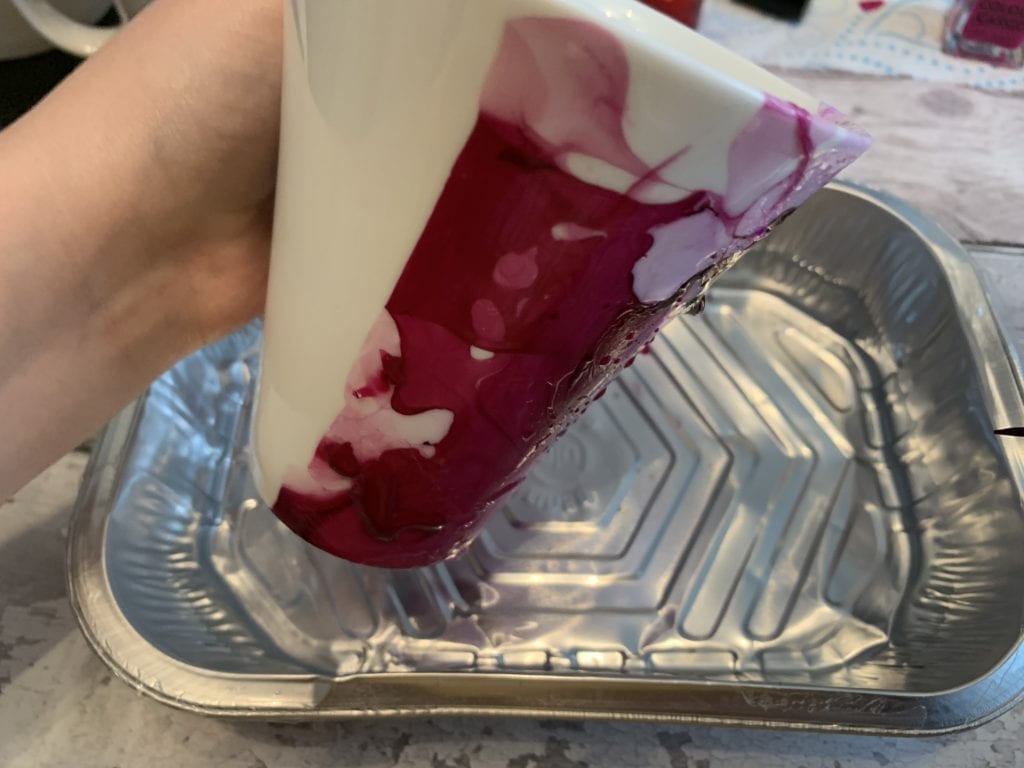
- Then quickly dip your mug or coaster into the liquid. We held the mugs by the handle and covered about half the mug.
- Pull the mug back out and set aside to dry.
- Once dry you can coat with mod podge which seals them for washing in a dishwasher, however if you don’t have any it is fine to handwash them, which is what we have done.

What I would do differently next time!
When we do this marbling activity again, which we definitely will! I will use a larger container in order to cover more of the mugs or coasters. I think we could have mixed the colours more if we had had a larger surface area. It would have been easier for dipping too, an old sweet container (celebrations etc) or washing up bowl would have been ideal. The tray we used gave us a good result though but I do think this could be even better.
If you are giving them as a gift I would suggest sealing them to keep them in pristine condition too. You can do this by baking them in the oven. You can also modge podge just the painted area after you bake it. Or tape down from the lip of the mug about 3/4 to 1 in turn the mug upside down and spray with a clear sealcoat don’t get any inside or where a person’s lips would touch on the outside. This all seals the marbling effect so that it does not wear off over time and during washing up.
We have plenty more craft tutorials on the blog including boredom busters and crafts for teen girls do let us know which activities you enjoy and do tag us on social media if you create anything as we would love to see it.

One Response
I’m using this! I was looking for wedding present ideas for my brother and this is it!!!! Thanks Emma 😊